
A few weeks ago I made a very special friend through Instagram (a photo sharing app). When I went to go and check out her blog, Carla’s Confections, (sweet and savoury by the way! She has Shane and I addicted to BBQ Chicken Pizza!), I saw that she had posted a couple of different cake pops. I totally LOVE, LOVE, LOVE cake pops! So when we got chatting, I asked her if she would share some cake pops on my blog! When she agreed, I was so excited to see what she would make! She kept it a secret until today (very hard for us both) when she sent me this post! When I saw these little bright, yummy bites of cake I got all teary! They are sooo sweet, gorgeous, I just love them! So instead of keeping you in suspense - here is my sweet friend - Carla!
Hello there! My name is Carla Walker and I blog about my sweet and savory confections over at Carla's Confections. You may have seen my blog through Heidi's guest post last week , but if not, nice to meet you! I am so grateful for Heidi doing a guest post on my blog and even more grateful for her hosting me here today! Heidi has become such a great friend to me, and kindly asked me to do a guest post about cake pops on her blog. I needed a lot of time to think about what kind of cake pops would do her website justice, but after a little while, it suddenly hit me, and I knew there was no other choice!
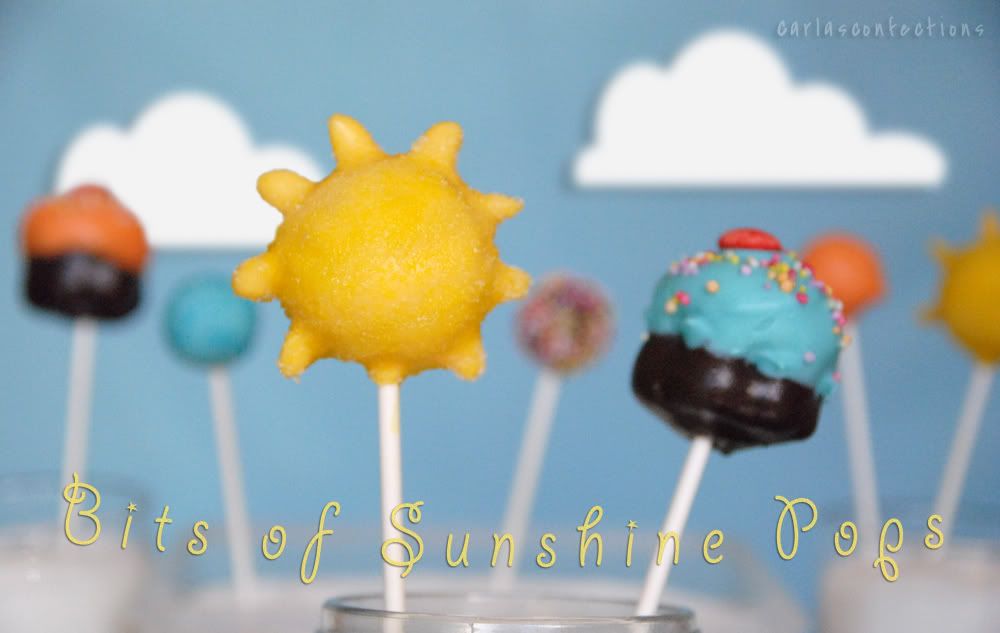
I wanted to make sure I did these right, but when I searched the Internet looking for sun cake pops, not very many popped up. I was bummed at first, but then I realized that this would give me free reign to make them my own. Heidi's website is so beautiful and uplifting, they had to be just right for her site. These Bits of Sunshine Cake Pops are dedicated to her, with her fun and cheerful way of bringing to us her easy and delicious treats. I sure can't wait for her to come out with a cookbook! These pops are made in honor of the name of her site, but also in honor of the treats she featured on my blog. She made us some delectable Lemon Meringue Cupcakes, and in return, I made a vanilla cake with a hint of lemon, and lemon cream cheese frosting.
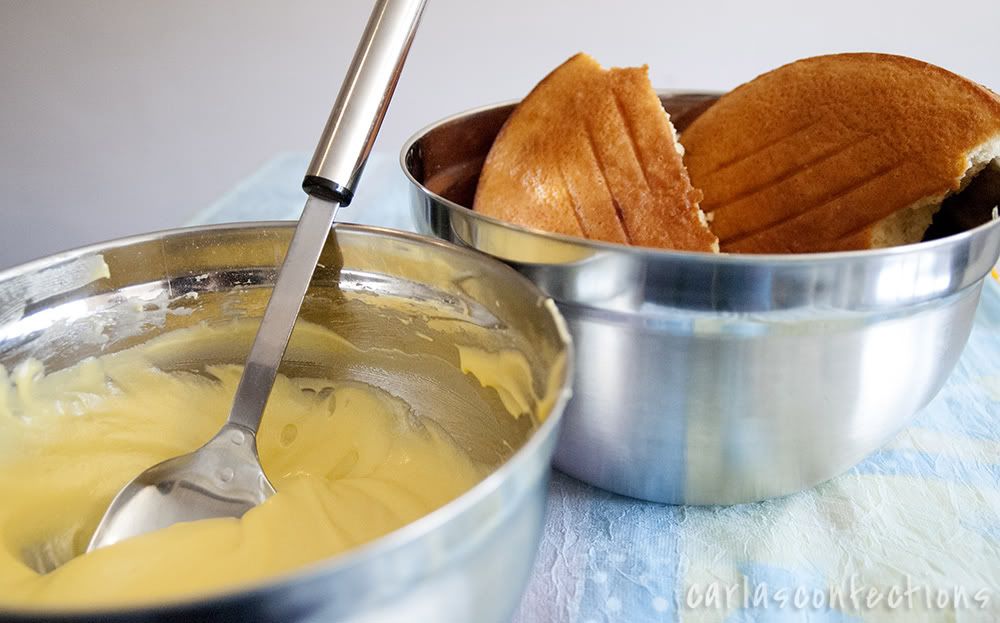
I didn't take pictures of making the cake and the frosting, because that is not the important part of the post. Cake balls and pops can be made using any type of cake (even boxed cake) and frosting/icing. The key is in how much frosting you mix in, and how chilled the formed cake balls are when you decide to dip. I promise you they are not as hard as they look!
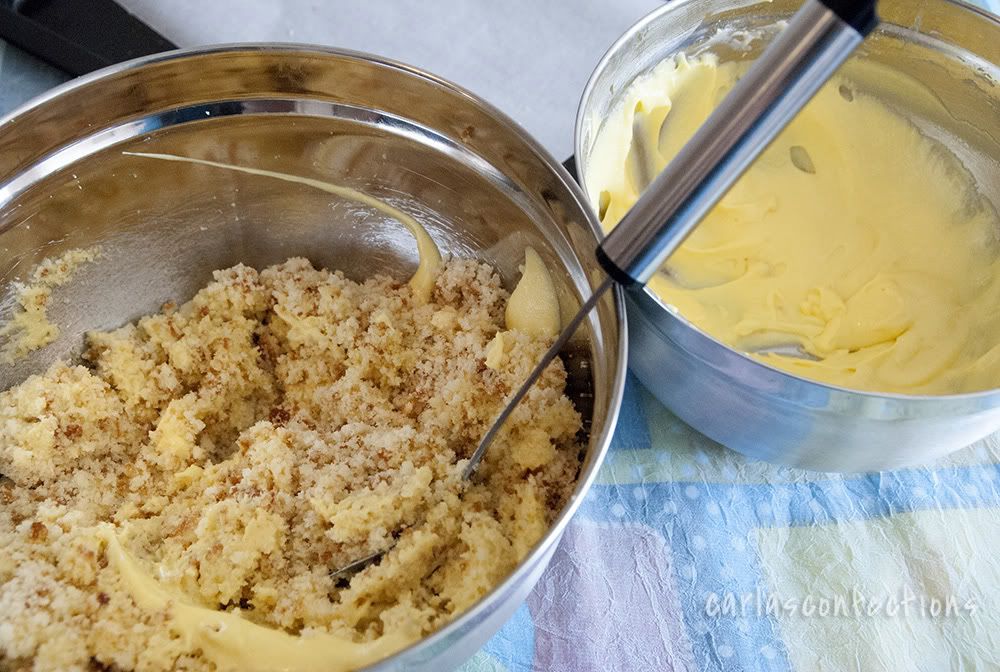
I started out by crumbling my cake completely. The best way is really by hand, but it can also be done in a food processor. Just use small amounts of cake to do this. Then I mixed in the frosting. I made my frosting a light yellow, just to give the cake a slightly more yellow color, but not enough to overtake the yellow of the suns. I only ended up using half of the amount of frosting I made, so I will write out the amount you should use at the bottom of the post.

But I did end up finding a good use for the rest of the frosting! I think the husbands of bakers have it best, don't you???
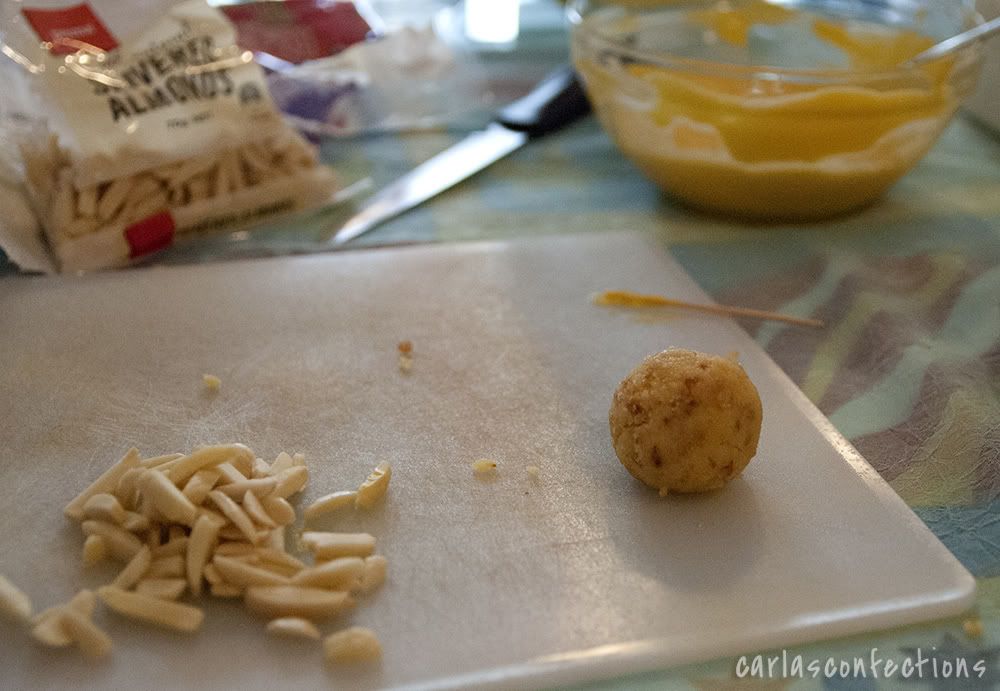
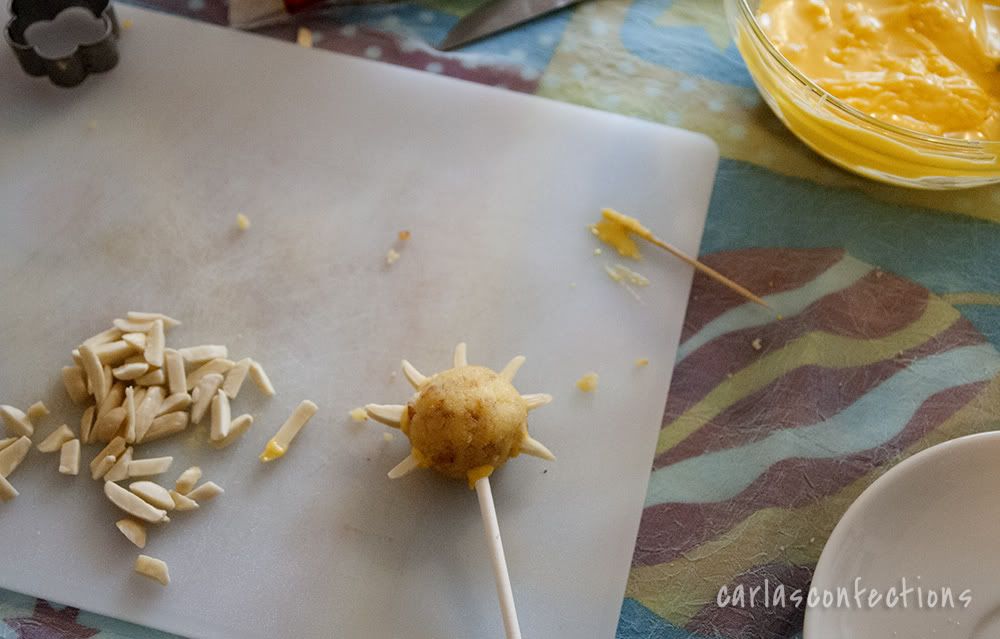
Once my mixture was fully combined, it was time to start making the shapes. I messed around with the shapes of the suns quite a bit, but my favorite was just a round cake ball to start out with. At this time, I also formed the rest of the shapes, so they could all cool down at the same time. But we will get to the rest later. See the slivered almonds and yellow candy melts? Those are important for the suns. Ill get there in a minute though. Once I formed all of the shapes for the cake pops (for this size cake, you should be able to get 25-30 cake balls/pops), I froze them for about 30 minutes to harden up. This is an ultra important step, particularly for cake pops. If the formed cake is too soft, the lollipop stick wont stay in the cake. It will just fall right off. So make sure the cake is hardened quite a bit before advancing to the next step. You do also have to be careful though, because if the mixture is frozen, it will make the candy melts crack once it is set. I know! So hard to find the balance of too soft and too firm. But don't worry, with practice you will get it. I still don't have it fully down, but what I have gotten down (I think!) is hiding my mistakes in the pictures! Just know that it doesn't have to be perfect! Just because they don't look exactly the way you want them to, doesn't mean they wont taste super yummy. Just have fun!
Ok, no more notes I don't think. I will just continue with the fun now!!
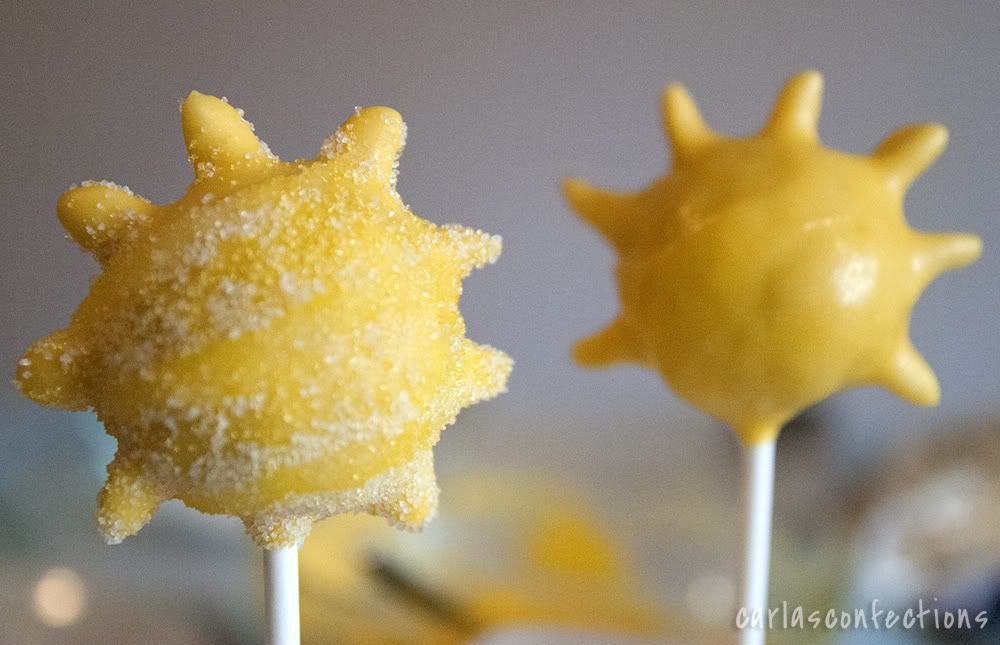
Once dipped, I played around with putting sugar sprinkles on it. On some, I put just yellow sprinkles all over, and on others, I painted a ring of corn syrup and sprinkled white and yellow sugar on it to make it pop! You could also use other color melts, or the same color melts over the completely dried surface and add sprinkles to your desire! The most important part is to have fun with these!
I also wanted to make some other shapes that you may see on Heidi's site, such as her cute little cupcake in the hands of the adorable little girl, and her polka dots. It was also important to keep the pastel color scheme, and I had a lot of fun making the accompanying shapes.
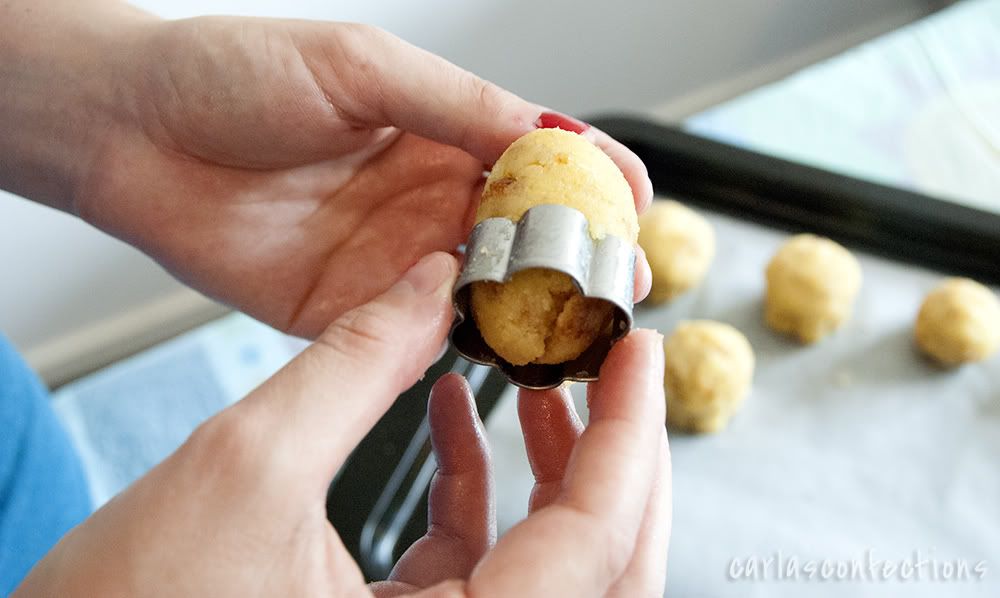
For the cupcakes, I bought a mini flower fondant cutter, about 2"/5cm in diameter. I rolled the cake into a ball, then into a log shape and pressed it into the cutter. PS, thank you to my husband for taking the pictures of me forming them.
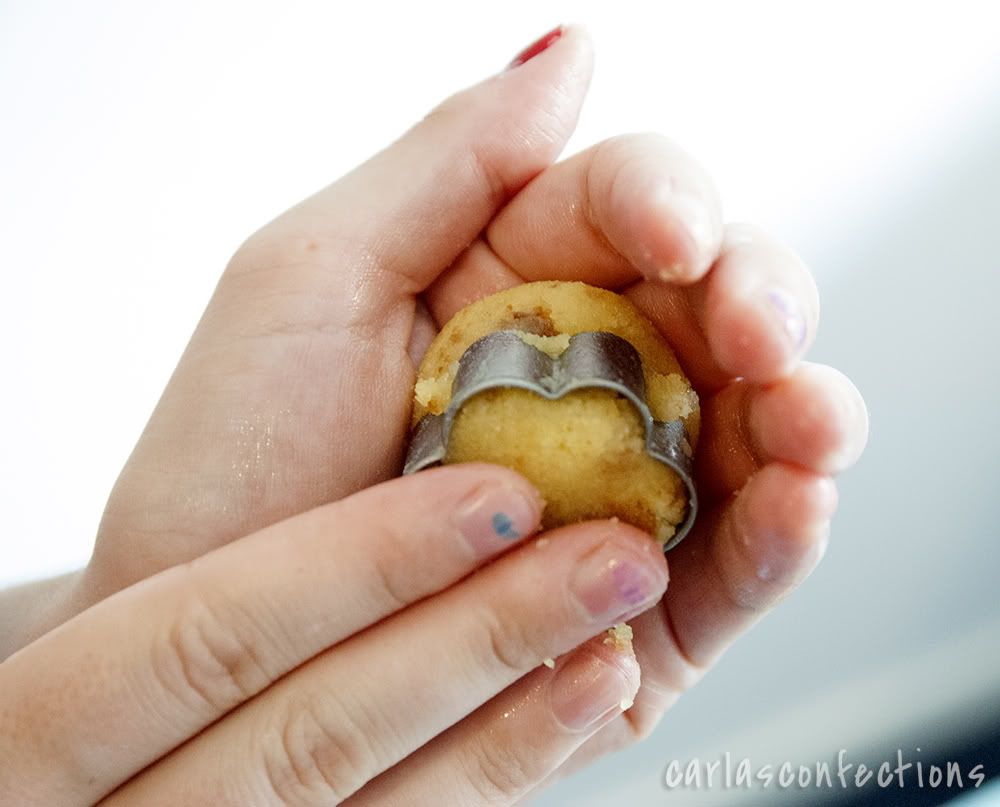
Then I cupped the top hand, while pressing the bottom into the cutter to form a cupcake bottom, and the "mounded" top. Once it looked like the desired cupcake I wanted, I pressed it out of the cutter.
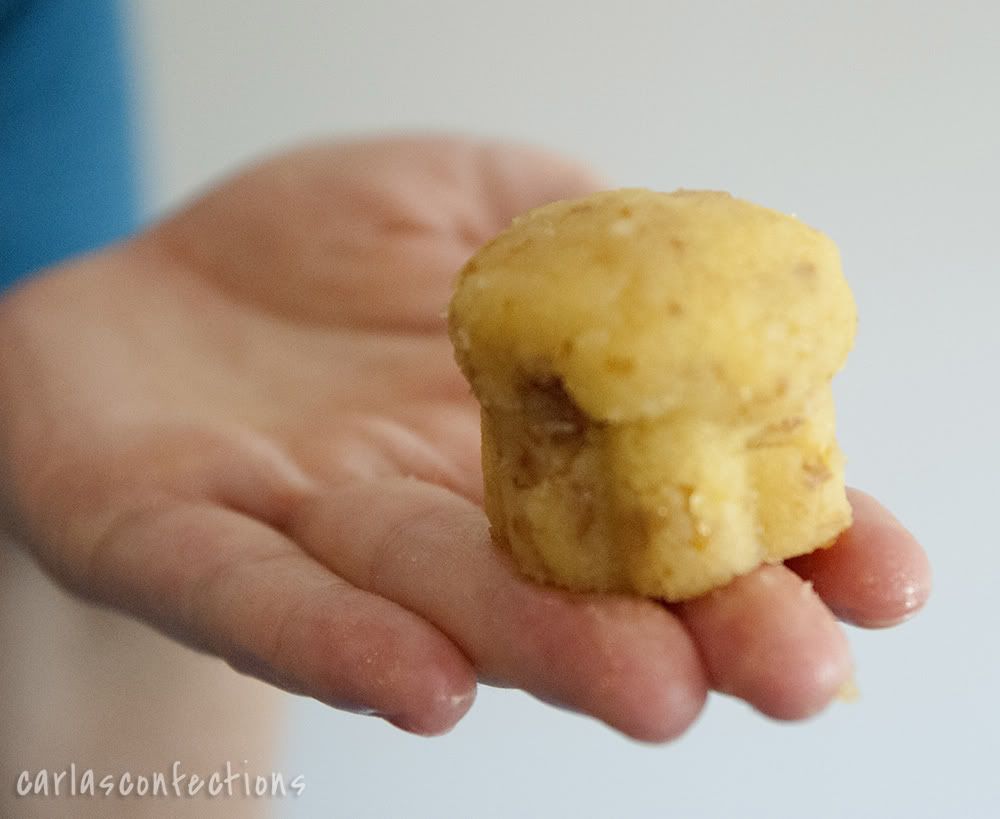
And there you have it! A cupcake! A mini cupcake. Made out of cake. But its a cupcake. But its not. Never mind. I'll stop.
Here is where it needs to be chilled prior to dipping.
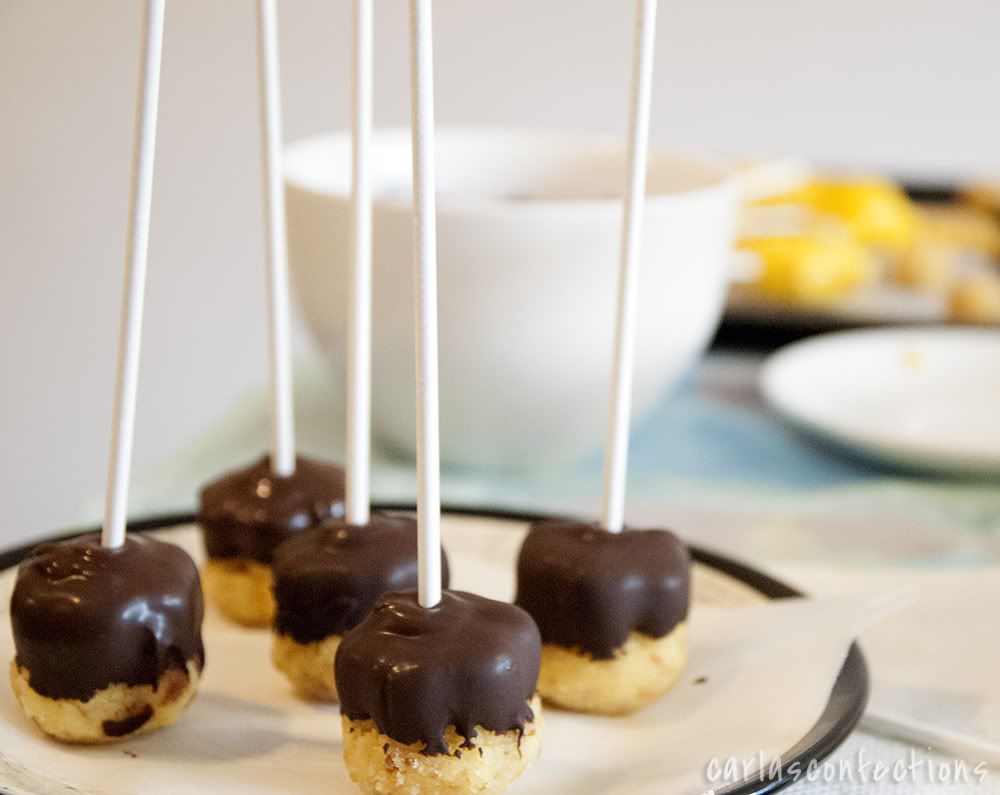
When it was chilled enough, I melted some chocolate melts, dipped the bottom half into the chocolate, and turned it over on its top to dry. Immediately, I took a lollipop stick, stuck it into the melts, and directly into the bottom of the cupcake. Once they were dry completely, it was good to dip and decorate the top of the cupcake pop.
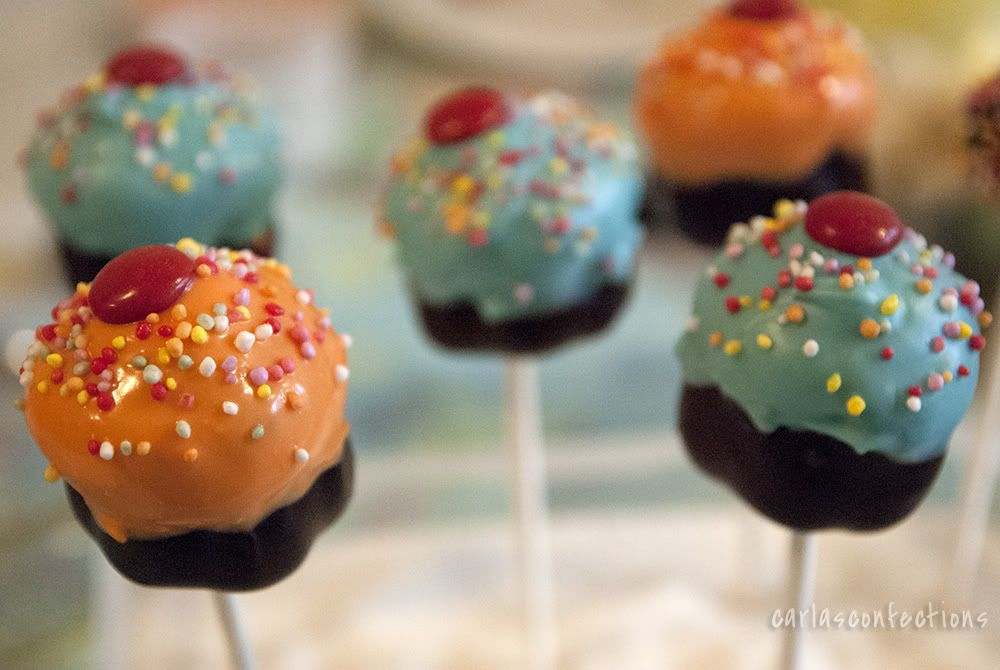
To decorate the top, I used Wilton colored candy melts, 100's and 1000's (sprinkles), and red M&M's with the "M" facing down on the pop. I dipped into the melts just down to the chocolate, then immediately added the M and the sprinkles, so they would stick to the melts. I also had to touch up some of the areas that were exposed using a toothpick. But overall, they were a lot easier than i expected! I would certainly make these again! They are so much fun and they really are attention getter's. People tend to go crazy when cake is bite-sized and in fun shapes! But the real question still remains! Did they taste good?!?
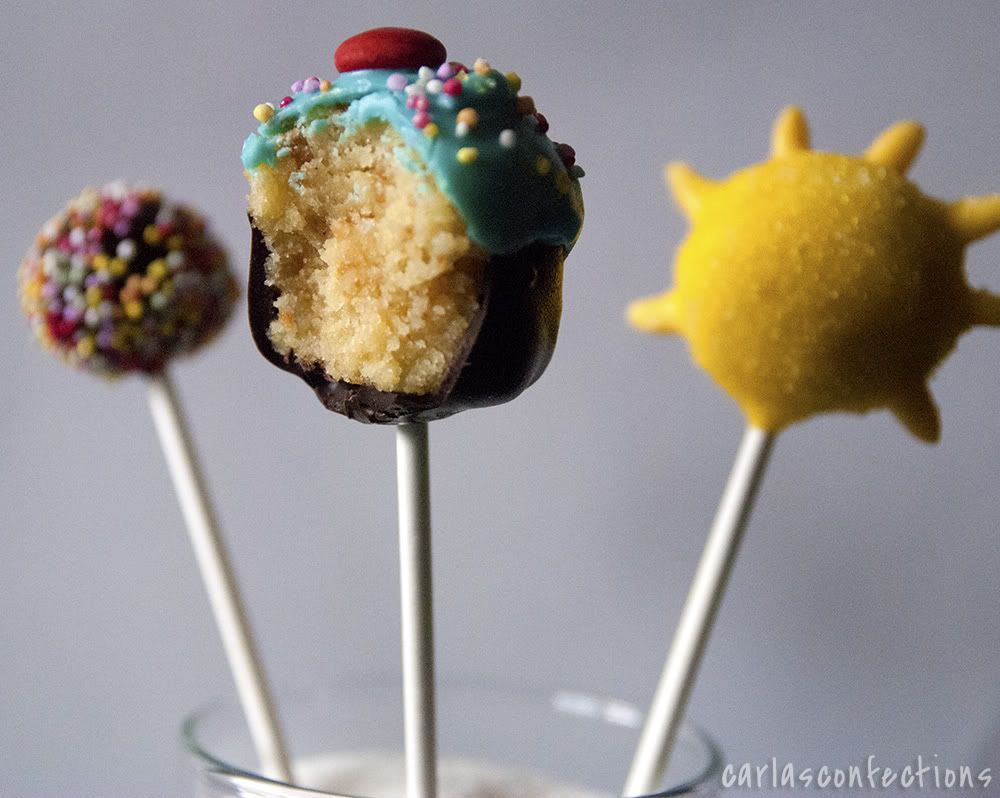
Yep they sure did! The lemon was just enough to give a slight lemony flavor, but not too much to overwhelm the senses. I think next time, I would not dip into the chocolate melts, and instead just stick with the vanilla flavored colored melts, but even with that, the chocolate was not a bad flavor! Just not as good as the vanilla.
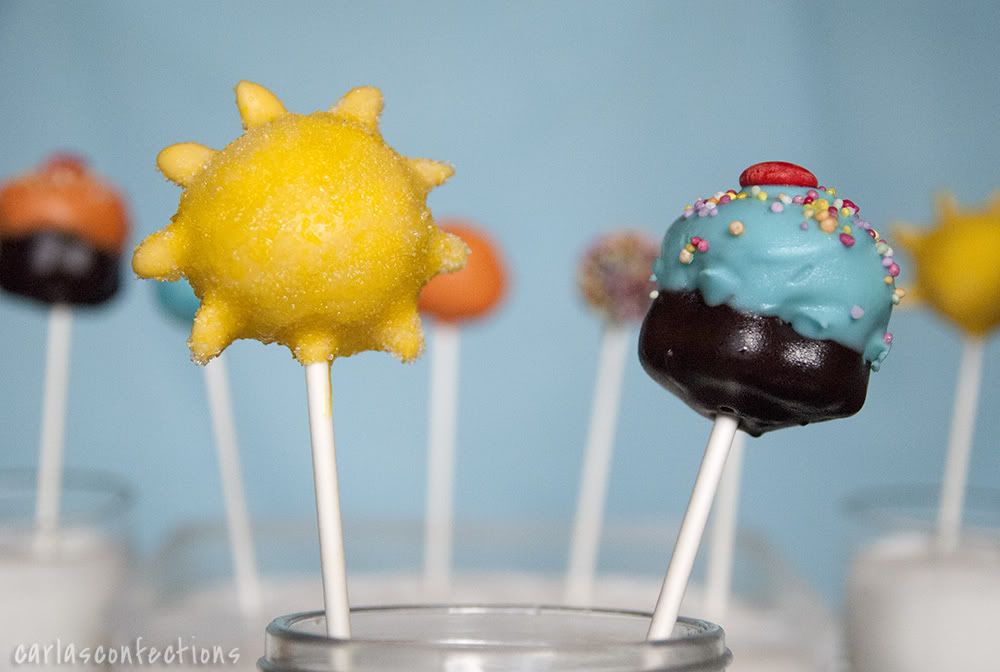
My Bits of Sunshine Cake Pops, complete with pastel colored suns, cupcakes, and polka dots.
To Make 25-30 Cake Balls/Pops
Vanilla and Lemon Cake:
-1 cup/250 ml sugar
-2 eggs
-1 1/4 cup/156 grams plain (all purpose) flour
-1/2 cup/125 ml milk
-3 oz/90 ml sunflower oil
-1 1/8 tsp baking powder
-1/4 tsp vanilla essence (or extract)
-1/2 tsp lemon flavored essence/extract
Preheat oven to 180 C/350 F. Line and grease a 9 in/23 cm round cake pan.
In a mixing bowl, combine sugar and eggs using an electric mixer until slightly thickened.
Add flour, milk, oil, baking powder, vanilla and lemon essence and mix just until combined. Don't over mix.
Pour batter into prepared cake pan and bake for 30-35 minutes, until skewer comes out clean.
Lemon Cream Cheese Frosting:
-4 oz/112 grams cream cheese (softened)
-1/8 cup/30 grams butter (softened)
-juice from 1/2 lemon
-1/4 tsp vanilla
-1/4 tsp lemon essence
-1-3 cups powdered/icing sugar, as desired
Combine cream cheese and butter, until soft and fluffy, about 5 minutes, using electric mixer.
Add lemon, vanilla and lemon essence until incorporated.
Add powdered sugar in batches, until desired flavor is reached, and fully combined.
Cake Pops:
-cake recipe
-frosting recipe
-lollipop sticks
-candy melts
-desired sprinkles and other decorations
Let the cake completely cool, then crumble using hands or food processor.
Add frosting to the cake and mix using the back of a metal spoon. Mixture should be wet, but not too wet. Just enough to hold cake together.
Take a small handful of the cake mixture and form into desired shape.
Let harden in freezer for 20-30 minutes, or in refrigerator for a few hours. Should be firm, but not frozen.
Melt candy melts, thinning out with oil if needed.
Dip the end of a lollipop stick into the melts, then directly into cake pop, no more than halfway through.
Dip entire cake pop into desired candy melts, covering completely. Don't stir around in mixture. Instead, use a spoon to cover exposed parts. Tap off excess by tapping your empty hand onto you cake pop hand to get it off without making the cake fall off the stick.
Immediately add sprinkles if desired, or let cool completely to add more color later, or let them be as they are.
Eat and enjoy!
Here is the Printable Recipe for you. Thanks for letting me share these cake pops with you all!
Thanks sooooo much for these adorable cake pops Carla, I love them all! They are very sweet (I have to say that again!) and so thoughtful. I am so blessed to have a friend like you! I really wish you could have shipped some over here, but I am sure the mail man would have gobbled them on the way! They look absolutely divine.