
If you have never heard of a macaron - where have you been! Seriously! But just in case - a macaron is a meringuey type cookie, I suppose, that has a hard round shell on the top and a flat bottom with little "feet". The inside is tender and gooey, and you generally sandwich two of these shells together with butter cream or other icing to form a macaron. I say all of this like I am some sort of expert - but I am far from that! Ha ha! My blogging friend, Carla, heard all of the heart ache and frustration that these little devils cause in my quest to conquer them. And did I? Well sort of! You see, if you have been reading up on macarons, you will have seen many mixed feelings from those who have attempted them. And there are SO many different theories as to why macarons turn out the way they don't, so many methods and SO many blog posts on them. After a devastating batch of them, I came across Brave Tarts blog. She is like a real NO FUSS gal, which totally appealed to me - so I gave her version a try - and I must say I was pleased with the results!

Ok - I know these are far from the perfect macaron, but I felt like I had somehow accomplished something having made macarons that DIDN'T crack and weren't hollow, AND they had feet. So here is how I made them using the french method:
I looked around in our local shops in Durban and didn’t find any almond flour, so I had to take the long way around with these, I started off with almond Nibs and ground them in my blender until they were super fine.

Then I sifted out the bigger bits, put them back into the blender and ground them. I repeated this until there were hardly any big bits. Brave Tart says that the big bits are likely to cause the macarons to crack - so I wasn't taking ANY chances!
Once it was all super fine, I added the icing sugar and combined the two.

Ok - egg white time - this is important! The egg whites must be beaten until they form stiff peaks.
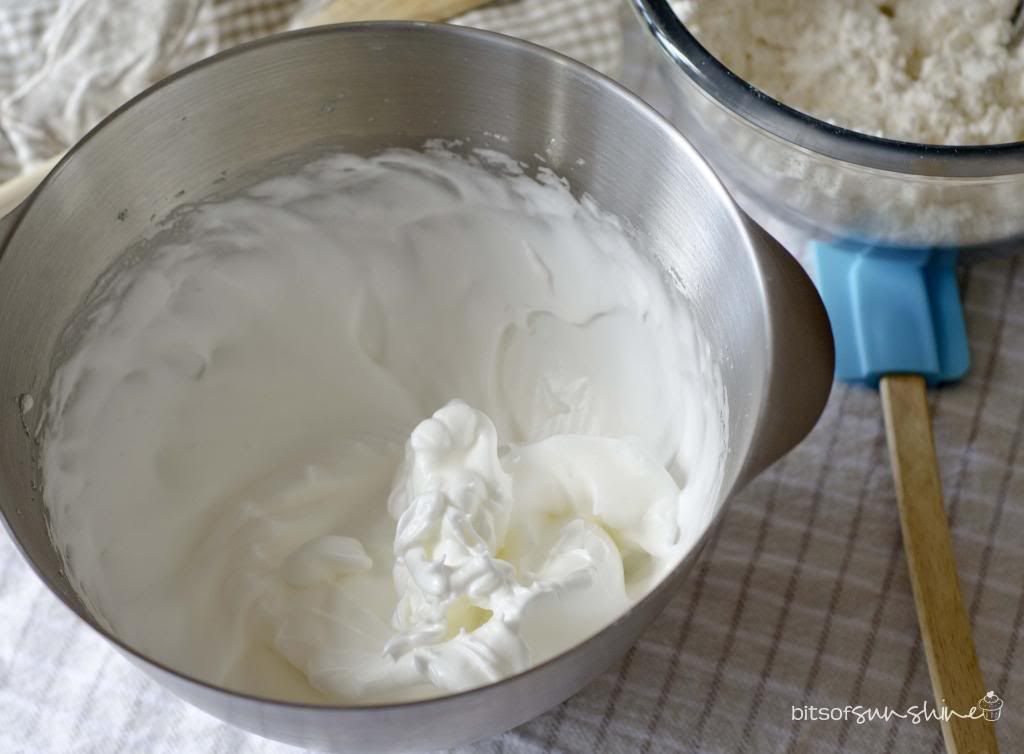
Once the egg whites are forming stiff peaks - like in the picture above (you should be able to scoop some up in a spoon and it should stay put when you turn the spoon upside down), add the almonds and icing sugar to this and the "macaronage" begins. Here is where you add the colouring and flavour too. I decided to stick with vanilla , just to be safe, so I added the scrapings from one vanilla bean to this mixture. I think the mixing is what will make or break your macarons. You can't over mix, nor can you under mix. I kind of followed Brave Tart's instructions to the tee, she had said go around the bowl and fold the mixture about 40 times. I did that exactly :)
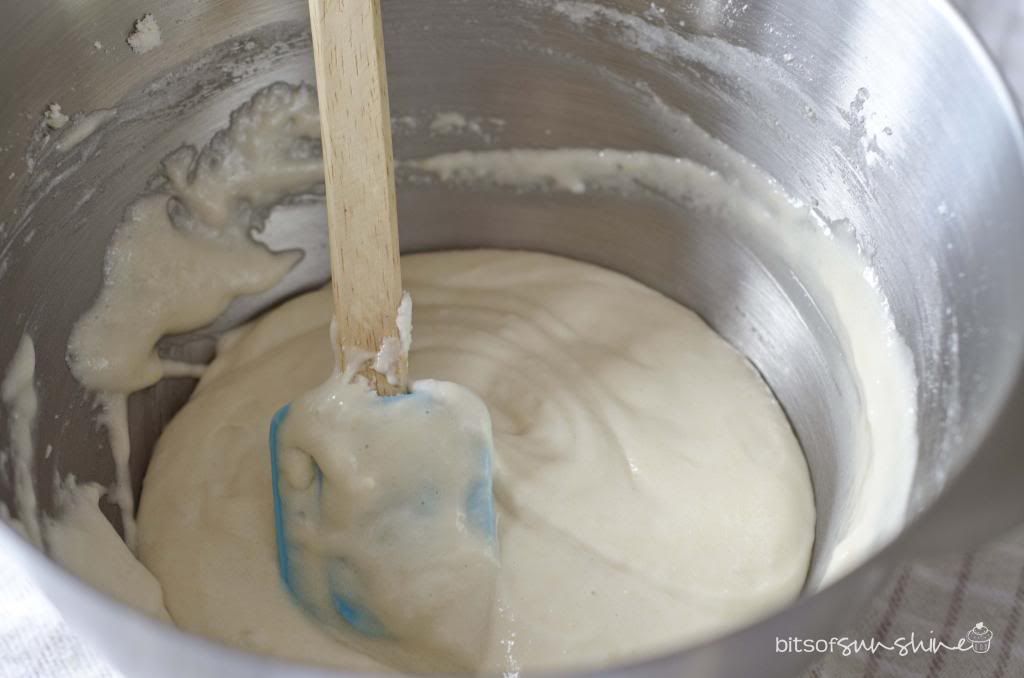
This is what my mixture looked like after 40 turns. I suggest you thoroughly read her post before mixing as she has a really nice description of how the batter must look.

I read some where (sorry I cant remember where - but I thought this was a brilliant idea) to use a tall glass or jug and a clothes peg to help you fill the piping bag. It makes the whole thing so much easier then trying to hold the bag with one hand and spoon the runny mixture in with the other!

Stella from Brave Tart ALSO says it is not necessary to let the macarons "dry" before baking them. Almost ALL the other places I checked out insisted that you let them dry for at least 30 min to ensure they form a light crust on the top which helps in the feet formation. So I did a test - this batch I didn’t let them dry at all - I piped them and popped them straight into the oven. I did try a batch of chocolate-mint ones (which I will share here soon!) as well as some hazelnut ones that I let dry for about 30min before baking, and I did notice a slight difference, but honestly - each batch seems to be unique so WHO KNOWS!!!

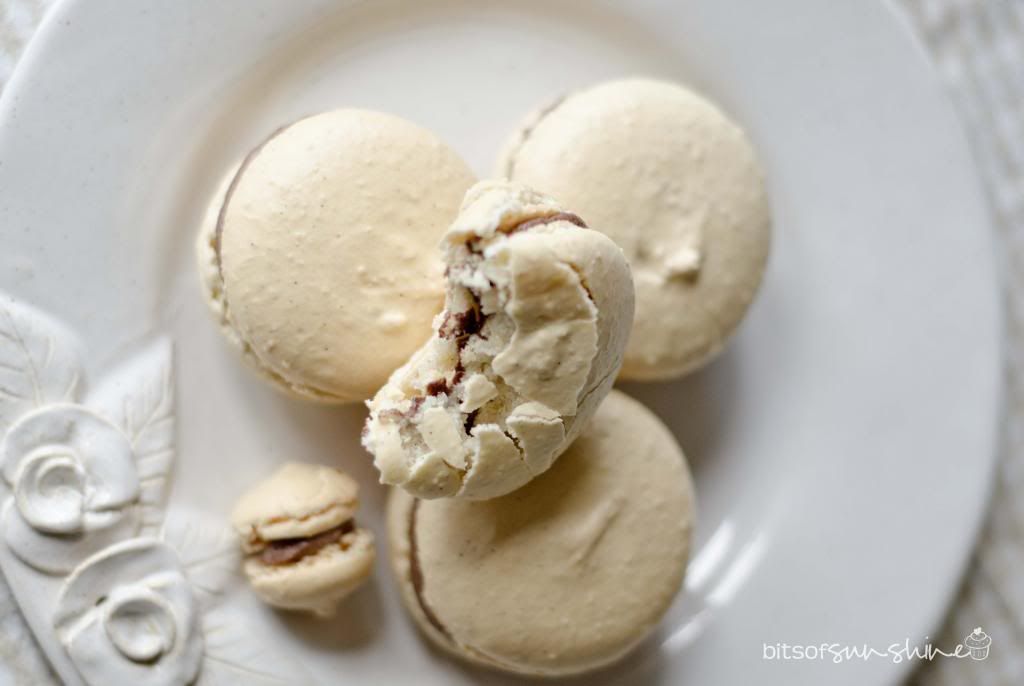
They turned out beautifully! I was so pleased! Ok - I know the feet were not perfect, nor were their tops beautiful and smooth - but I was REALLY pleased with them.

I made some chocolate- coffee buttercream (this buttercream with the addition of some instant coffee) frosting to sandwich them together. It really complimented the vanilla flavour!
And they were a perfect combo of crispy on the outside and chewy on the inside! SCORE!
So - Now its your turn! I hope that if you have been sitting on the edge of macaron making, this will give you the push you needed!
I highly suggest checking out these before you start, they have all the instructions, tips and tricks that I used! I used the basic recipe from Brave Tart:
Brave Tarts Macarons
Brave Tart Macaron Myth busters
Brave Tarts 10 Commandments
Tartlette is said to be the queen of macarons and has instructions for a whole array of flavours!
Demystifying Macarons by Tartlette
And these are JUST super CUTE!
Bakerella's Macaron Pops
Please let me know how your macarons turn out! I would also LOVE if if you would send them to me to share on my facebook page!
xxxx