

A while ago Yuppie Chef held a Spring Cake Pop Challenge - and I was all in! I just happen to ADORE spring, and am madly in love with Cake Pops so this one was right up my alley! And to top it off - Bakerella herself had agreed to judge the entries (which Bakerella fan could resit that opportunity!) SO I decided to do mushroom and lady bug cake pops!
I love that cake pops are so versatile, you can pretty much go wild with them once you have gotten to know the basics of them! The consistency of the crumb-icing ratio is probably the MOST important thing to get right when making cake pops because if they are too soft, they fall off the stick, and if they are too hard they crumble when you try and insert the stick into them, but after making them once or twice you kinda get a feel for the perfect consistency and from there - the world of cake pops is your to conquer!
Since making these oreo and vanilla cake pops, I was super keen to try some shortbread and condensed milk ones. When we were growing up my mom used to make these fantastic no-bake marie and condensed milk cookies with us. They were killer sweet and so easy! I (weirdly) often find my self LONGING for these, so I based these cake pops on my hankering for those childhood treats!
Pretty simple:
It takes a 200g packet of bakers eet sum mores (or any shortbread, I bet homemade shortbread would be killer in this!!!! :) ) and about 140ml condensed milk - that's all!
And then you will obviously need some chocolate coating, sticks and all the rest :) But check out this post on where to get all of that!
SO this is how is goes:
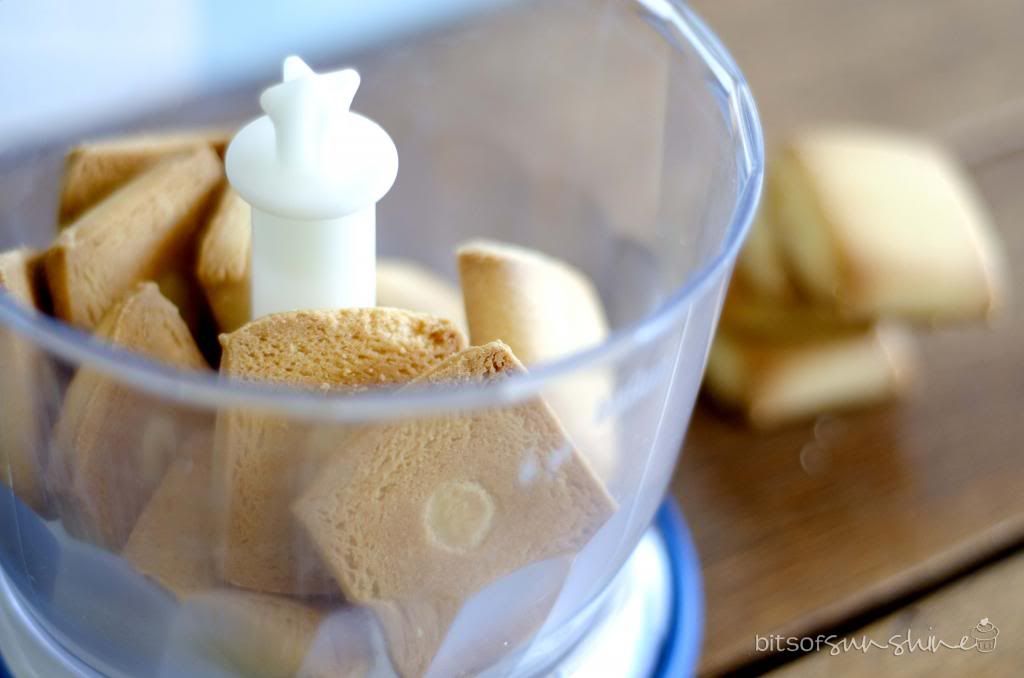
In a processor, crush the shortbread until it resembles roughish crumbs
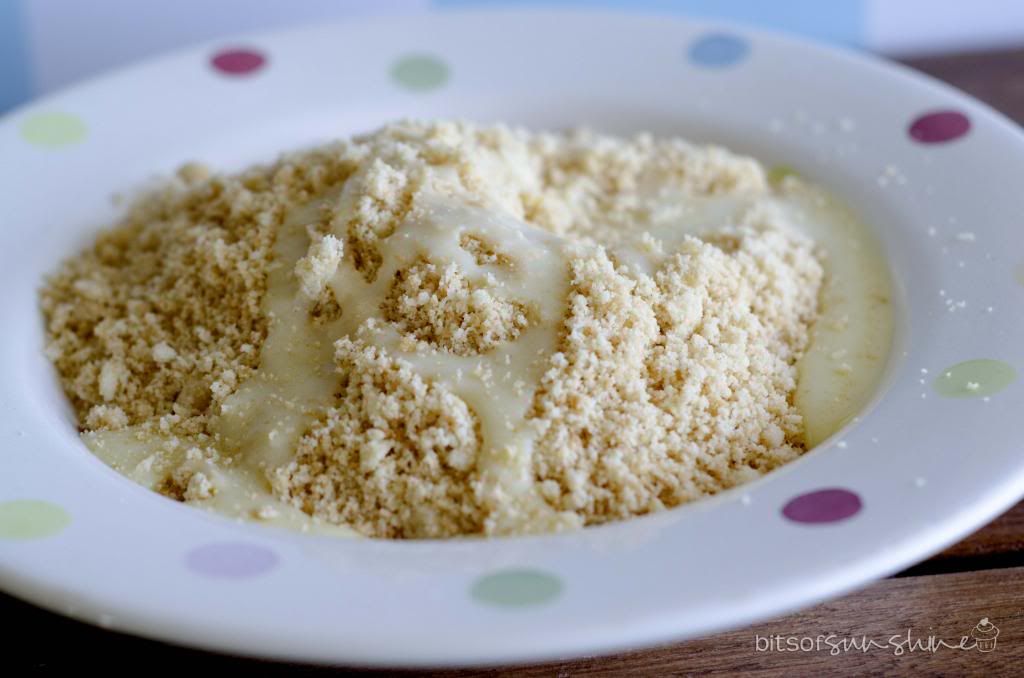
Then, add the condensed milk and mix, mix, mix until it is evenly distributed
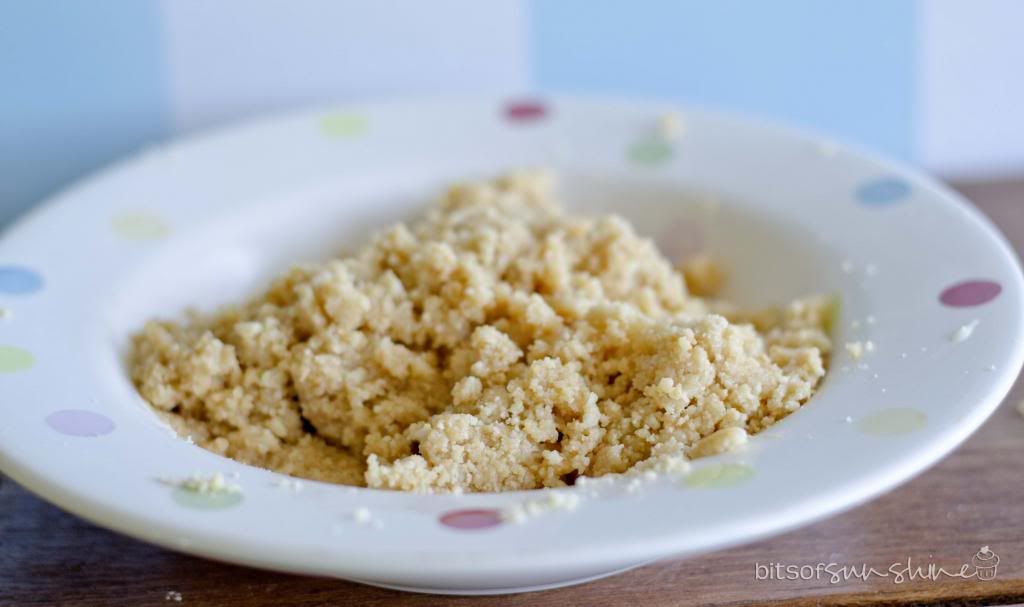
Then roll, roll, roll

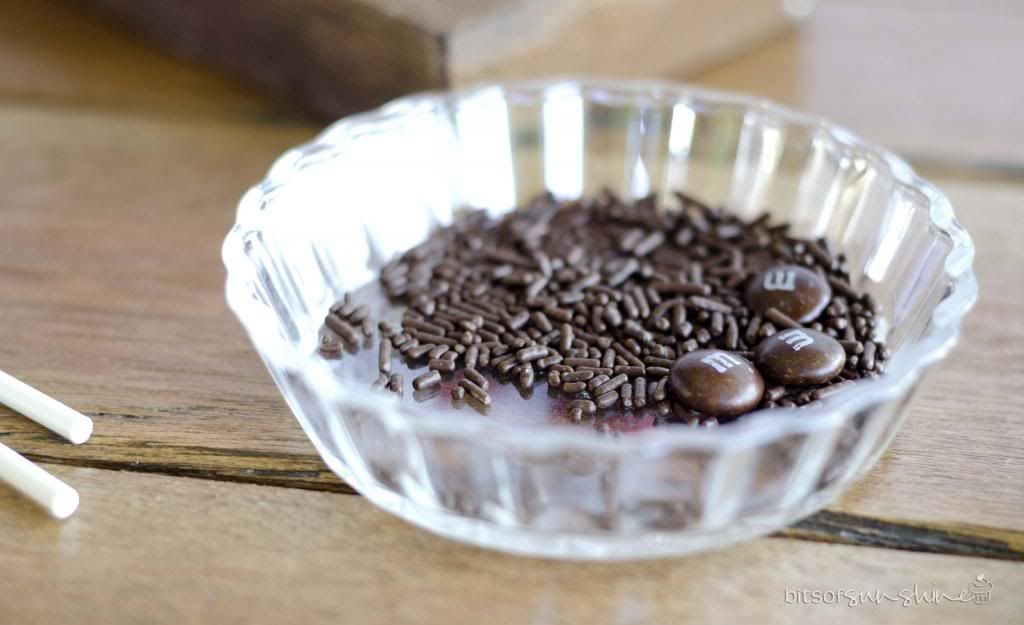
Phew! Time for a short break! Pop them into the freezer for about 15 min to chill. I guess its not really break time though, because its actually time to get your coating and decorations all together! Its best to have everything you need all within arms reach when you start your dipping, you need to work quite fast, so you cant be running around and counting out sprinkles!
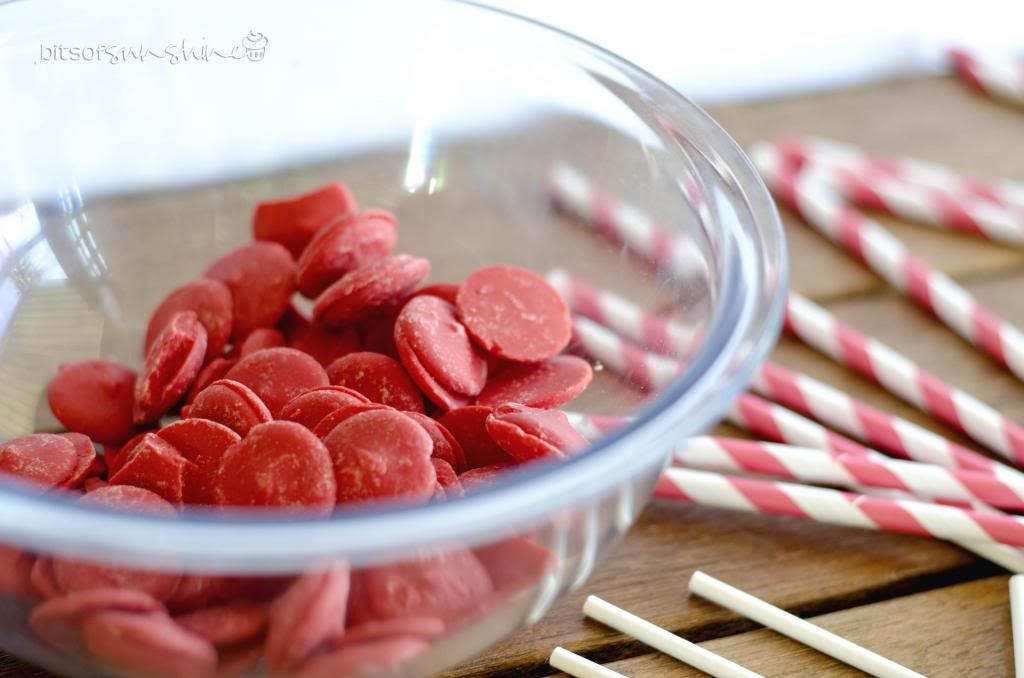
SO for these you will need to grab some chocolate jimmies and some brown m&ms
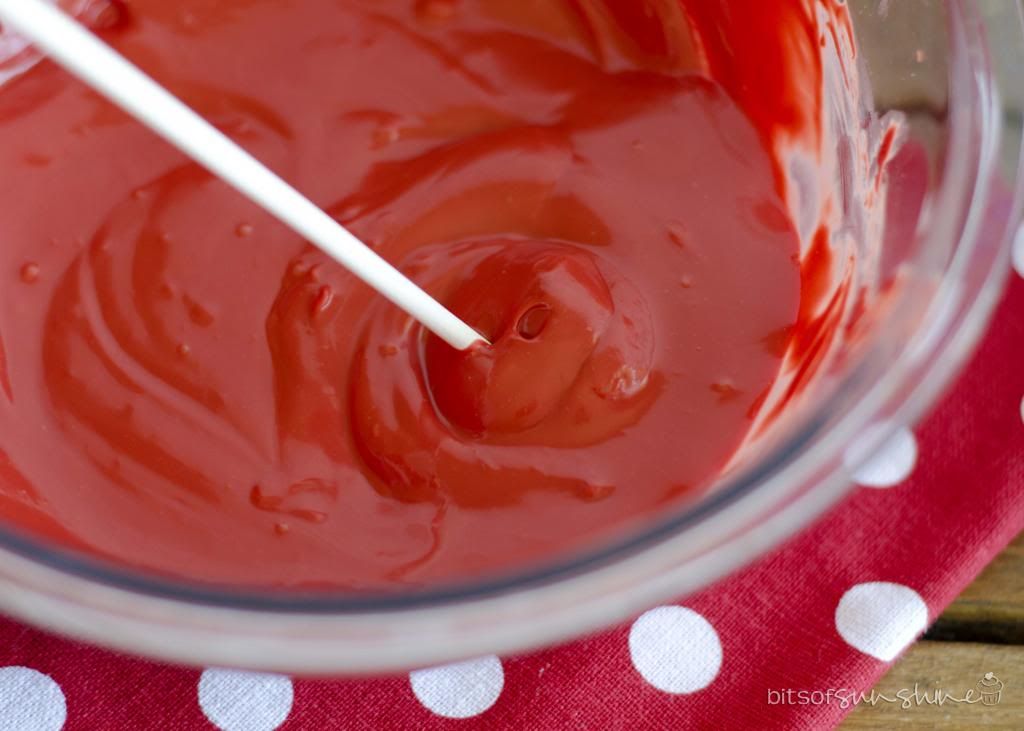
Once these are all organised, you can start melting your chocolate. For these I bought some red candy melts.
And I melted them in a double boiler on the stove. You can do them in the microwave, but I find a double boiler is more reliable :)
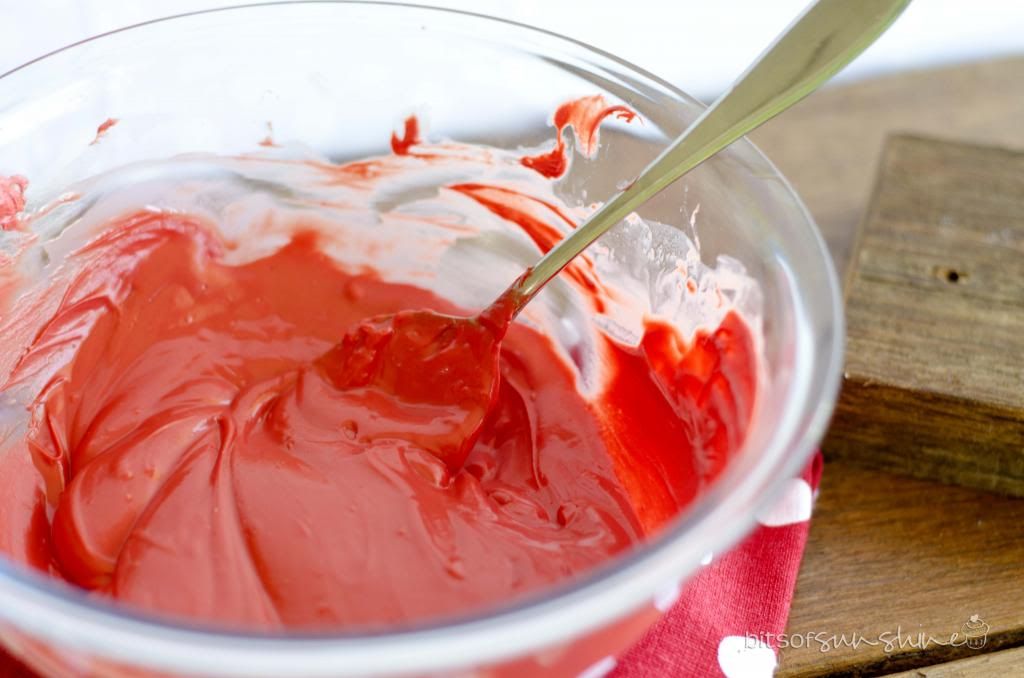
Candy Melts really are wonderful! They are so thick and they are SO reliable! And their colours are so awesome! Ah - so glad for candy melts!
Ok - time for dipping! SO go and grab some sticks and your chilled cake balls out the freezer and let the dipping begin!
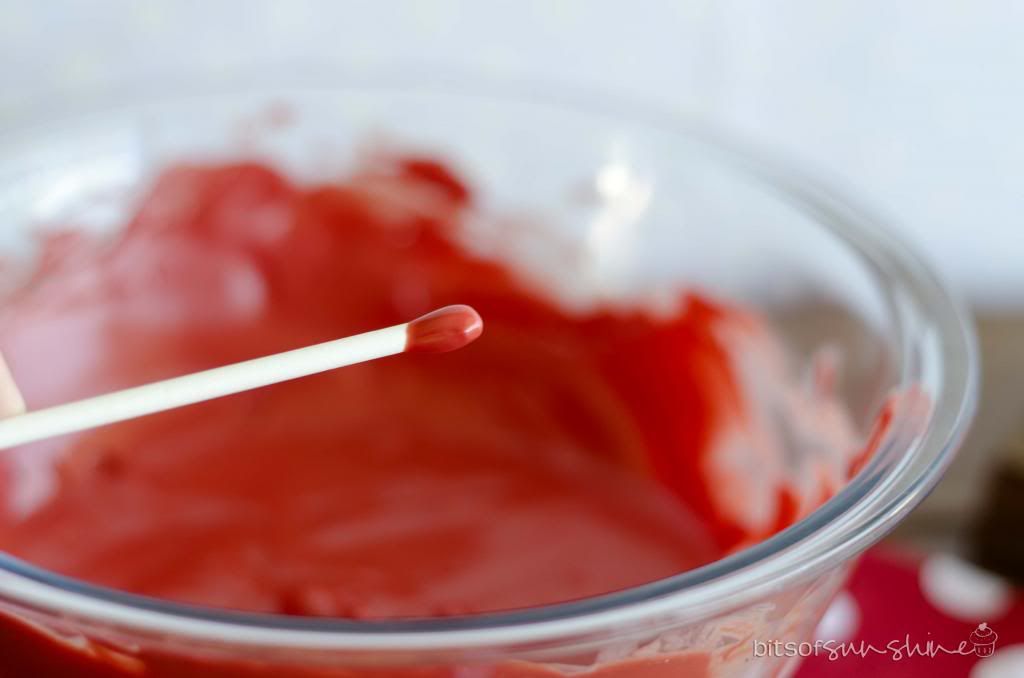
First dip your stick in the candy coating
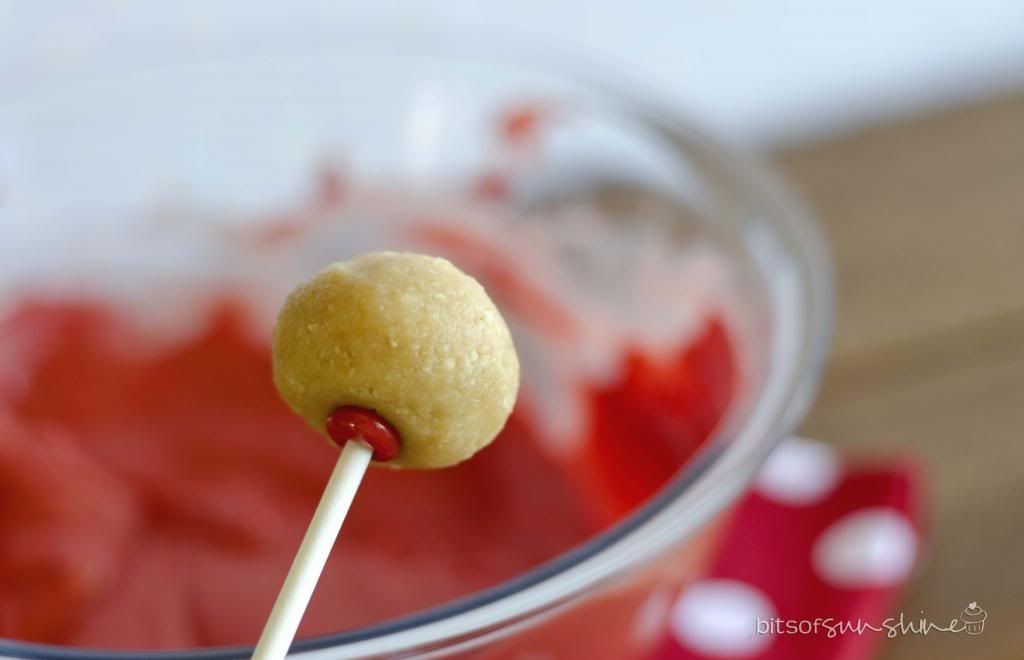
and then push it into your shortbread ball (about 1/2 way)
then plunge it into the candy coating. Bakerella suggests using a deep bowl for this to avoid having to swirl the cake pop around the candy coating! WISE WORDS!
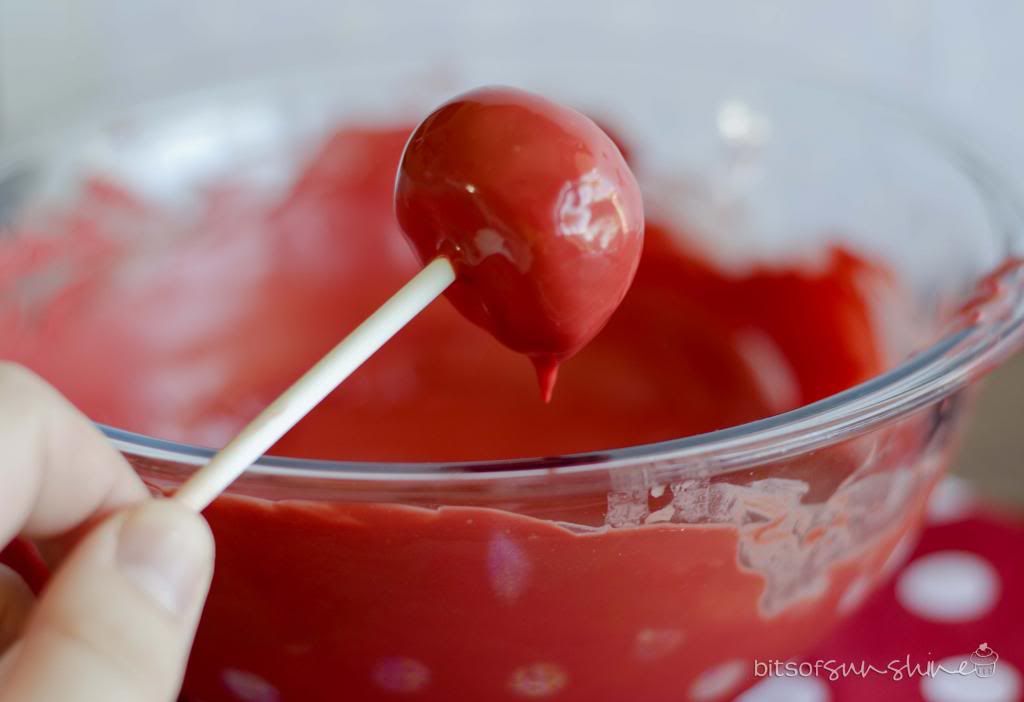
Once its all covered, shake off any excess candy coating
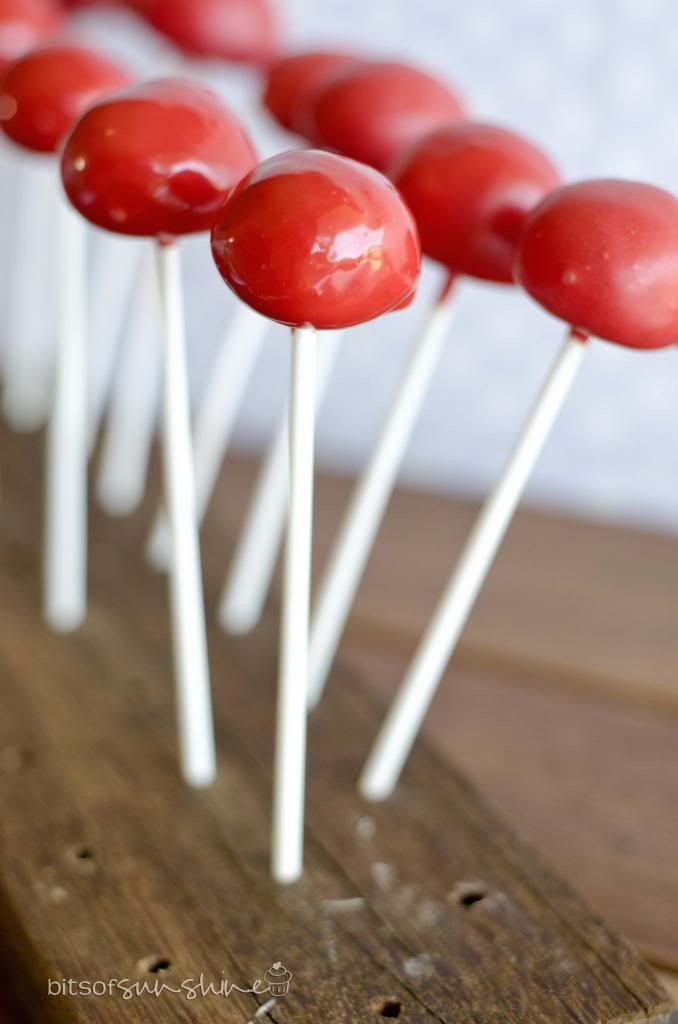
and pop them into a styrafoam block to dry. I am SO lucky to have a wonderful husband who made this cake pop stand for me. He just took a nice piece of wood and drilled some holes about the size of a cake pop stick in it. Its awesome! I just love it! Thanks Shane! xxx
Once the red candy coating is nice and dry, you can melt some dark chocolate (or black candy melts would be even better) and put it in a ziplock bag and cut a tiny piece off one corner to make a decorating pen (if you dont have a real one :) )
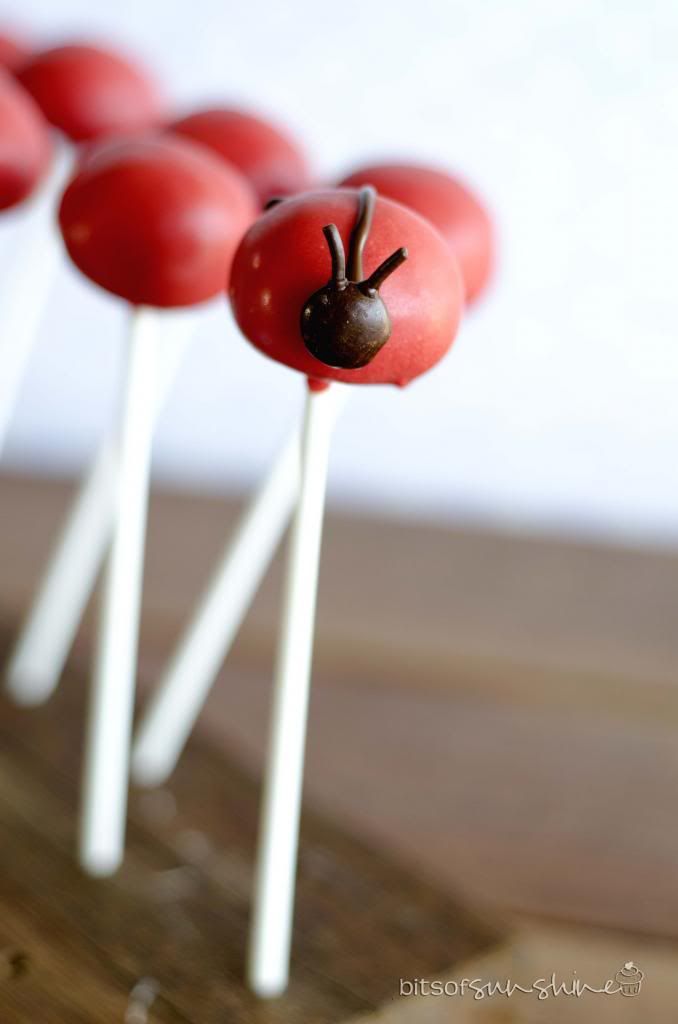
First stick the head on by placing a small drop of chocolate on a m&m and sticking on the front of a cake pop, then draw a line from the head to the back of the cake pop. Then you can add the dots!
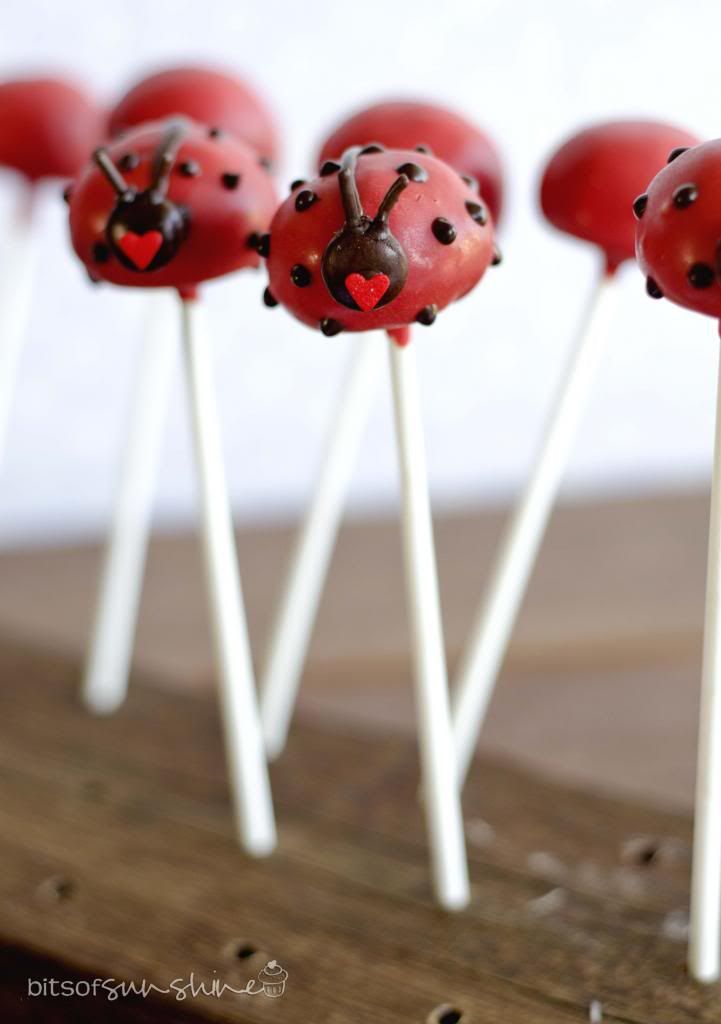
I also added a little heart sprinkle as lips - cuz they are so cute you will want to kiss them!
and that's it!

I also turned some of these red domes into mushrooms
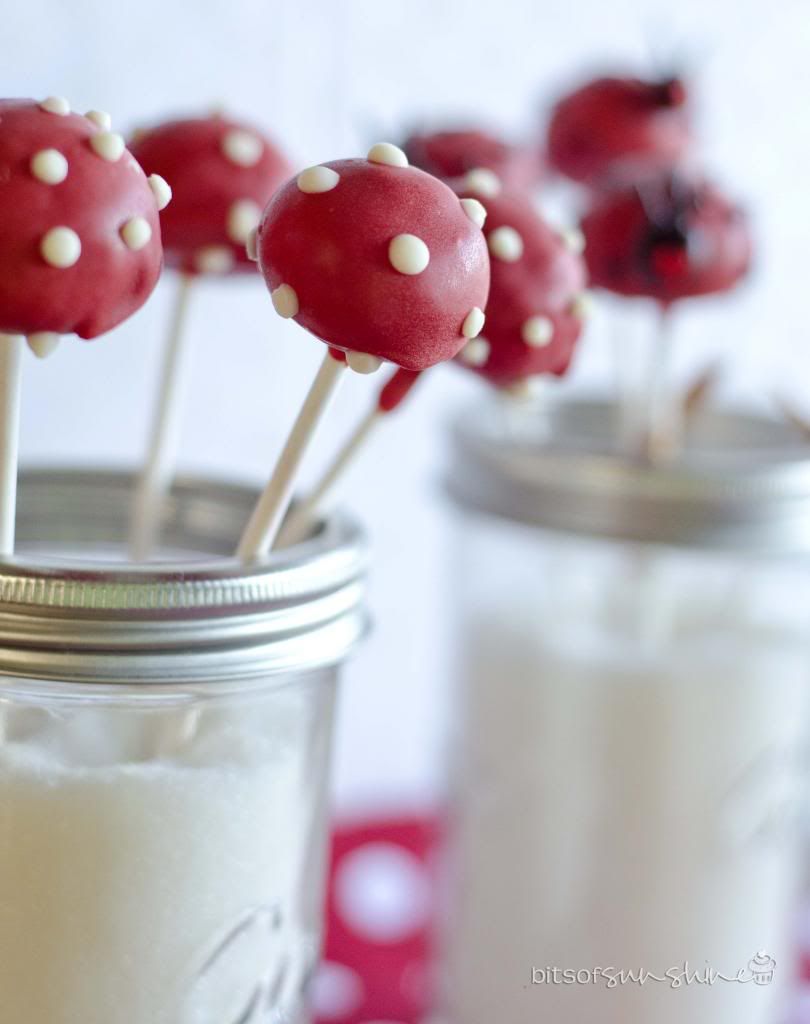
Same story - just using white chocolate instead of the dark chocolate!
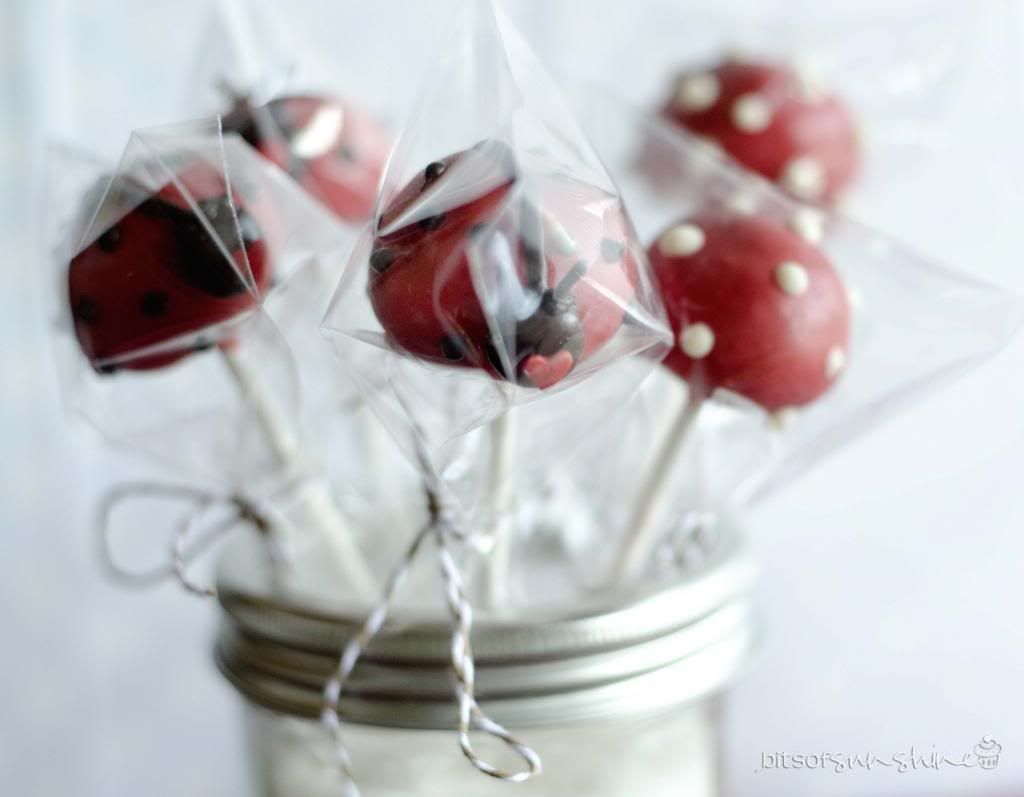
And then pop them into some packets and tie them up with a cute ribbon - and that's it!Just like that! :)
SO the very cool thing about these is....they got me SECOND place in the contest! YIP! How rad is that?!?!?! I was super stoked! You can go and see the other winners here. I really liked Catherine's spring theme - I think she should have come first! Any hoo! I got a R500 voucher from it all and I bought a Mad Millie Cheese Kit with it, which arrived today! SO I am going to be making some cheese tonight! Boooya!
Thanks Yuppie Chef for the awesome opportunity! And the wonderful cheese kit!
If you had to make a spring themed cake pop - what would it be?