So - are you guys up for the next serving of photography for foodies? With the last two posts under your belt: the photography challenge and lenses, you should be up for my favourite subject - lighting and backdrops.
Why, you ask, is it my favourite photography subject? I think these two factors are the KEY to good, crisp and eye catching photos. Want to know how and why - keep reading!
For me, blogging is a hobby, something I enjoy doing in my spare time. This means two things for my blog:
1. I have to try and keep my costs down as much as I possibly can. If you bake and blog, you know the costs involved! Sometimes tough choices have to be made when it comes to equipment! This basically means I don't own any fancy equipment.
2. I have to do it in my spare time, because I have a day job. On that note, I have to admit, sometimes I feel a bit like a comic book hero, not that I am a hero by any means, its just that this blog has given me an alter ego, like I have a secret after-hours life!!. Its a weird concept. Anyhoo. I know. I am weird. Just thought I would mention it. If you stop reading now - I will totally understand ;)
These two factors effect my lighting. I use ONE source of lighting. The one the God gave me. The sun. Its cheap and it works really well! The only down fall of using natural light is you have to time your baking. I mainly bake on a Saturday or Sunday, when I have the whole morning or afternoon to snap away. Although this is very limiting, it works for me. I find that natural lighting makes pictures look just that - NATURAL.
This is how a typical set-up of mine looks. I maximize the use of natural light by taking my photos by windows, doors or even outside!
Makes a difference hey!
If it is a really cloudy day and light is scarce, I set up on the patio.
See those shadows to the right of my camera? Those look okish here, but when it comes to food, shadows aren't so cool. There is a very easy and inexpensive way to overcome shadows: buy a piece of white card and use it as a reflector! Easy and simple! To see more about this, check out Kelly from Just a Taste's post on Constructing Your In Home Setup.
I found a really nice comparison of the different effect light has on photos here. Just for interest sakes :)
Still on lighting, I think a number one rule in food photography is never use your built in flash. It produces very harsh shadows and make the photos look, well, too harsh I think. If you can afford an external flash (I am longing for one, but like I said, sacrifices have to be made!) it can make the world of difference to your photos AND can enable to take photos no matter what time of day it is. Smitten Kitchen has a short blurb on it - and when you see her photos, you will be convinced you need one too!
Another piece of equipment that can help you with lighting is a tripod. Tripods allow you to lower the shutter speed, which leaves the shutter open for longer and lets more light in. This will help on darker days. I have to admit, I only use my tripod when I have to, mainly because I am a little lazy, but it is REALLY nice to have!
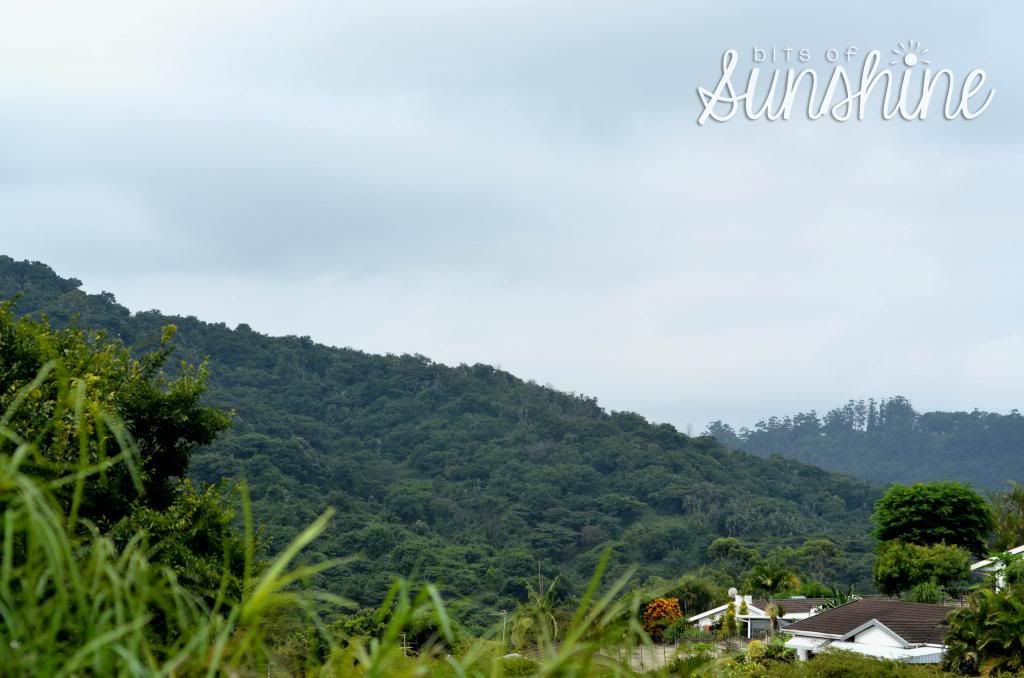
Even on a day like this:
You can get some nice photos if you shoot outside or near a nice big window.
Now lets talk about back drops. This is where the fun starts. This makes or breaks your photos. So listen up :)
Backdrops can be anything, anywhere.
You can use a big white sheet of paper, or some fabric, or a piece of wood. Get creative. I do think less is more when it comes to backdrops. If your backdrops are busy, it will take the visual focus off your food. But it doesn't mean you cant go wild.
This photo is shot with just an 'under-board'. This particular one is my new favourite board. I made it out of some old wood I found in my parents back yard and cleaned it up with a wire brush. I then painted a thin coat of white paint over it, let it dry and gave it a good sand with an orbital sander. I love the effect it gives.
If you are into DIY stuff - check out these cool tutorials when making your own photo boards:
And for those of you who are not into DIY (and for those of you who are) I have made some free Printable Photo Backing Boards
They are in PDF format, so you can haul them to your local printer and ask them to print them out on some matt board. I had them done in A3, but you can print them out any size you like. The bigger the better.
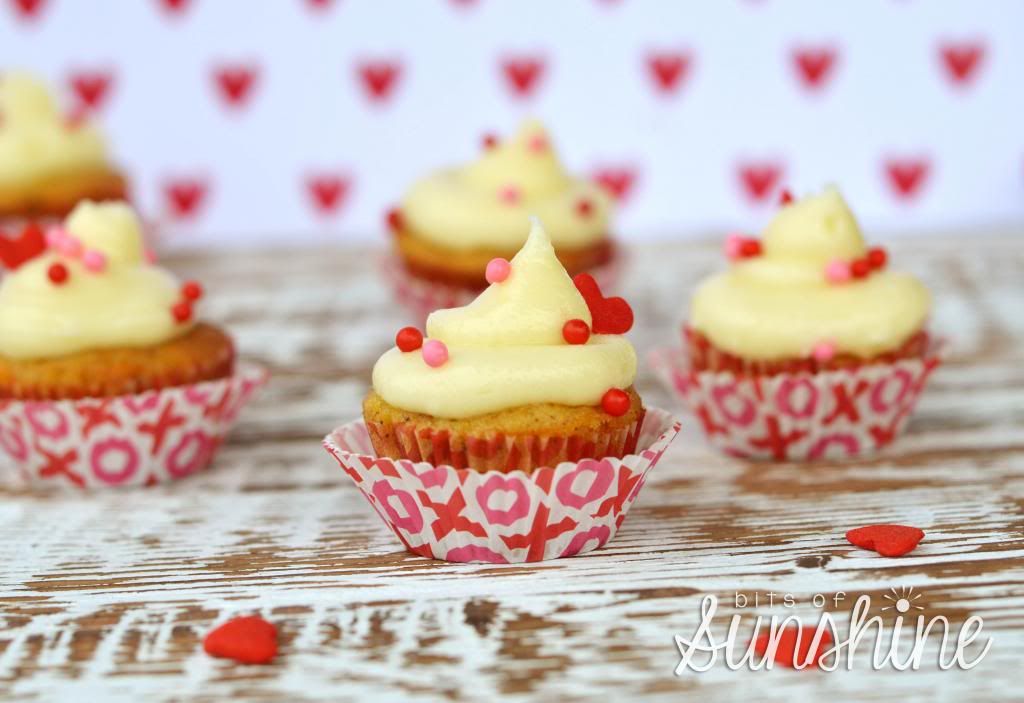
Here they are in action.
Did you notice how much better this photo looks with the backdrop?
Here is a 'behind-the-scenes' look at this shoot
Notice how tiny the 'under board' is? Not so daunting now hey?
And this is what you get:
When you take a step back and see how things are put together, it makes you realise that this whole photography thing is simpler then you thought. Well, it did for me. The more I see of other bloggers 'behind-the-scenes' photos, the more I learn. And I love it!
I did this fun shoot to showcase the printable backdrops, and show what an impact a backdrop can have!
Here I turned one of the printed sheets around the make the under board. Looks clean and simple.
Here I turned the underboard around so the printed side was showing.
And this just looks like a big party is happening over here! See what I mean about less being more. More is a little over crowded for me!
Ah - back to the simple look! So much easier on the eyes!
So - after this long post, I hope you feel inspired to create some simple set ups. Check back here for the next exciting episode of Photography for Foodies!


