

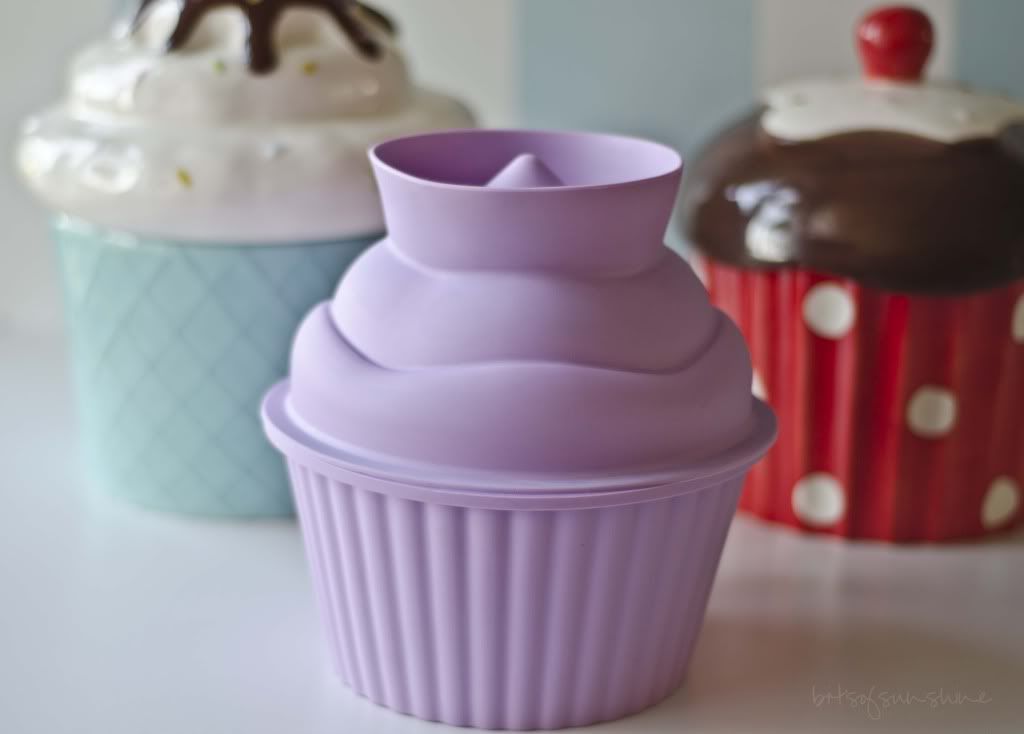
If you have been following my blog for a while, you may have noticed my slight obsession with cupcakes - both the edible and non-edible kind. I really like cupcakes and I like to surround myself them; with making them, and buying charm necklaces for me and my friends. I assure you, its not because cupcakes are the latest fashion (although it made it so much easier to find cool decorations and molds) but because they are so cute and sweet and wonderful, not to mention versatile and easier to pipe pretty little swirls on top of then a cake. I am always feeling that I am in need of practice with decorating, so a while ago I was combing through the CRAZY Wednesday Auctions on Bid or Buy (we wont speak about that obsession now) and I happened to noticed a GIANT SILICONE CUPCAKE MOLD. Yes, giant, x25 bigger than a regular sized cupcake - I was SOLD the second I laid eyes on it; another cupcake to add to my collection! Sweet! And I was the only bidder (even better!). A couple clicks and it was mine! Then, a couple weeks after that, I got a second giant silicone cupcake mold with my silicone-ware subscription. They must have known how much I loved cupcakes because it wasn't even on the "coming soon" list! But seriously - I am sure I will only have one giant over at a time for tea and cake; two will never fit into our tiny home, so I have decided to host this giveaway! But more about that at the end!
As cool a concept as a giant cupcake is, I felt oddly intimidated about baking such a "big" cake. The top half (the part that is suppose to be the frosting of the cupcake) seemed to be a bit more on the "normal" size, but the bottom half is pretty deep so I did a bit of research (neither mold came with a recipe) to see which type of cake would work best, how long such large cake would take to bake properly, etc, and nothing concrete turned up. I made the decision to just dive in head first and make a cake I knew tasted great and just adjust the baking times. I used this recipe by Amanda from I am Baker and just doubled it. It is by far the best chocolate cake recipe I have ever made, I make it all the time now and even use it to make regular size cupcakes! All the ingredients for the cake are things most of us have in our cupboards, all except buttermilk (well at least for me anyways) and since I am usually a bit on the lazy side, I just make my own using 1 teaspoon of lemon juice to one cup of whole or low fat milk. All you do is measure out the milk in a clean jug or cup and add the lemon juice and wait a couple of minutes (be patient) and the milk will curdle slightly - works like a charm!

Whenever baking ANY cake - I always sift the dry ingredients into a bowl and then stir them together with a metal spoon, it helps to evenly distribute the dry ingredients through the mixture with minimal folding /mixing and it makes the outcome of the cake more reliable.

I mentioned the "every day" ingredients earlier, but if you are anything like me, I like to know what they are so I can see the level of work that goes into the mixture - it takes all purpose flour, white sugar, cocoa powder, baking soda, baking powder, salt, buttermilk, vegetable oil, eggs, vanilla essence/extract and freshly brewed coffee (or just plain hot water if you dislike coffee, but you really don't taste the coffee - I promise!) This is the ultimate combo for a moist (thanks to the oil), dark (thanks to the cocoa and baking soda), soft (thanks to the buttermilk) rich, yummy cake!

Some of the silicone manufacturers claim you can use silicone bake ware without greasing it and without dusting it with flour, but I just can't bring myself to take the chance - I can't imagine putting all the work in and having the cooled cake stick to the silicone and break up - NIGHTMARE! Call me extra careful - but I usually just give the silicone a quick spritz with some "Spray and Cook" and if I am being extra, extra careful, like for this post (yes you guys are that important!) I dust the silicone too! For chocolate cakes I like to dust the pans with cocoa instead of flour.
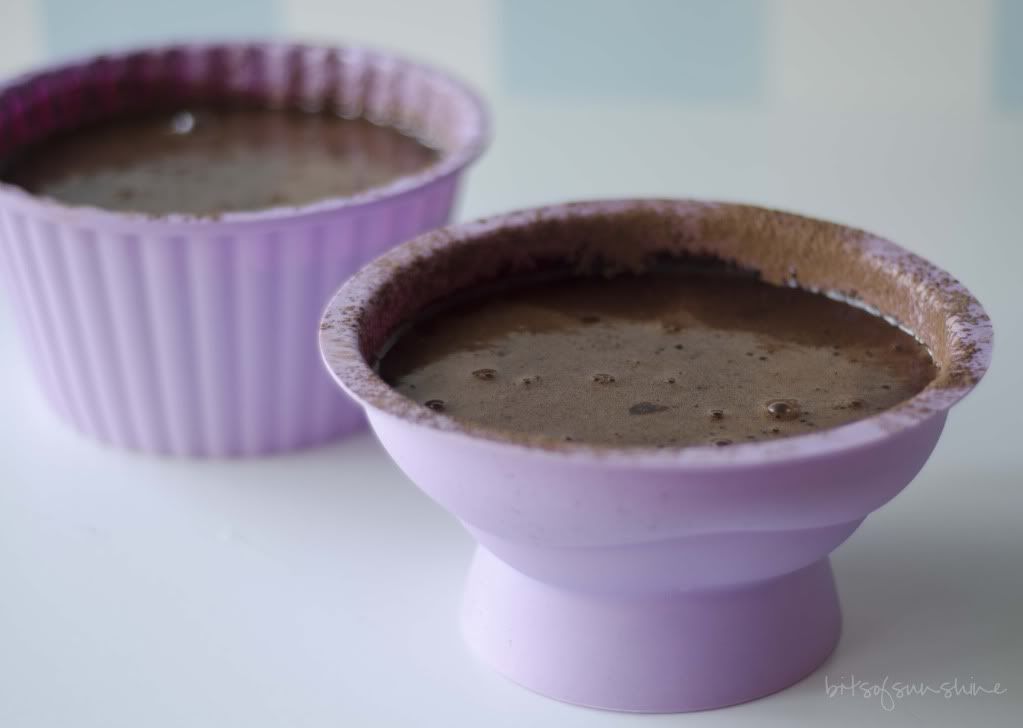
After filling the pans I placed them on a baking tray, and popped them into a pre-heated (180'C / 350'F) oven and let the games begin! I waited at least 35min before doing my first inspection. If you open the oven door in the first 15 minutes of baking, your cake is more likely to turn out flat, so I just doubled that figure and hoped for the best! (",)
The top half of the cupcake probably took about 45 minutes before a cake tester came out clean, and the bottom half took almost double that! I took it out about about 40 minutes after the top half! Phew - LONG baking time! Good thing it was a chocolate cake, or I am sure the top would have been very brown! Anyways - I let them cool COMPLETELY before turning the mold upside down. And it was worth all the extra precautionary measures. (",) They just slipped out of the mold! No sticking, no panicking and no tears! Thank goodness!

I decided to go all out on this one and try another daring feat - caramel frosting - the type where you have to melt sugar on the stove stop! And I was pleasantly surprised at the out come! I used a recipe from my very sweet friend, Carla, who has agreed to share her caramel frosting recipe for this post on her blog today, with photographed steps to take all the fear out of this frosting!! The frosting is not as hard as you may imagine, and it tastes really, really good! So go and check her post out here, you will need to do this as part of the giveaway.
This is quite a LARGE amount of cake!I doubled I am Bakers recipe and used 1 1/2 of the batter for this cake. The bulk of it being in the lower half of the cake. The other half I used to make these regular sized cupcakes. I decided to add some frosting to the middle of the "cupcake holder" make sure there was enough of a cake:frosting ratio, so I sliced the bottom half in two.

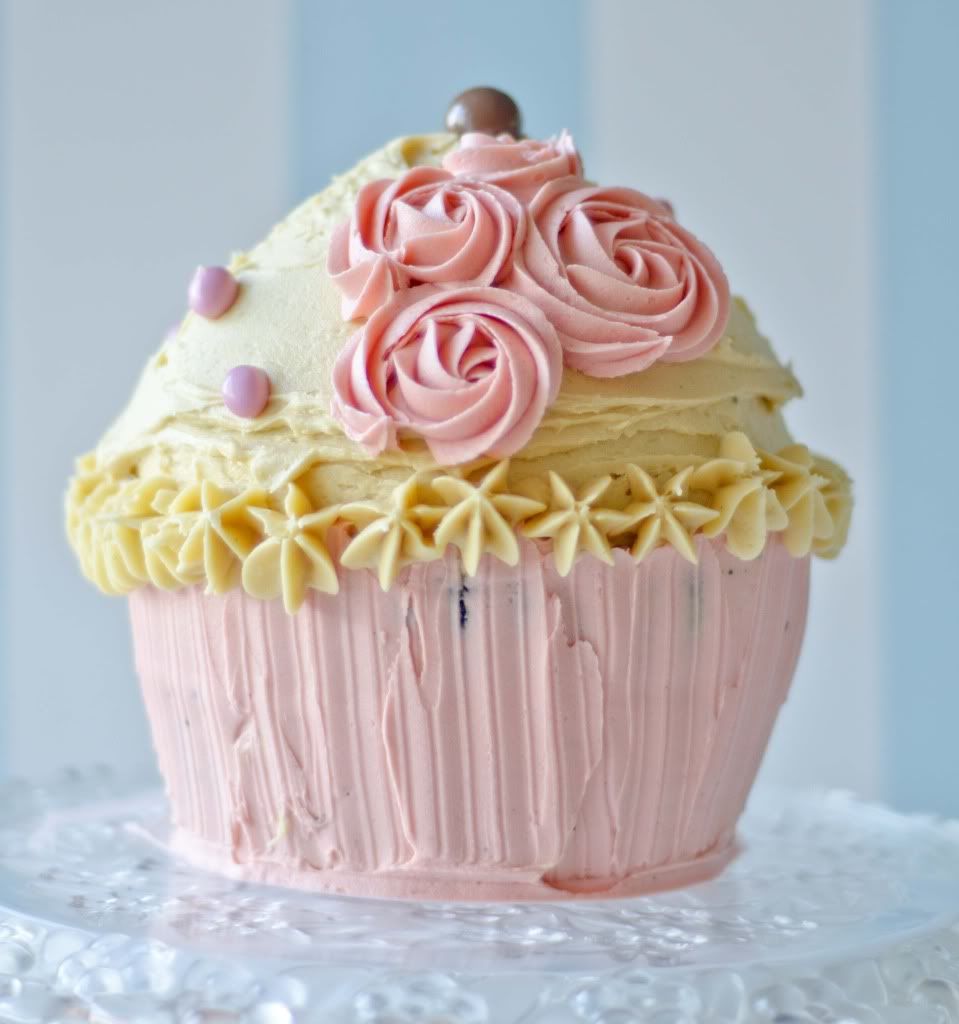
Just for fun I tried two different frosting styles:

This one I did all in (Wilton M1 nozzle) roses. Please excuse the messy roses! I am Baker has a wonderful video tutorial on how to pipe these roses here.
For the second one I did this:


I used an offset spatula to smooth the top, and and Wilton M1 nozzle to make the roses and "stars"). For the cupcake holder effect I used a piece of card board and cut one side of it with a zig-zag edge craft scissor and used it like a cake scraper, worked pretty well. (",)
 SO! I hope I have un-daunated this
cake and Carla has done the same for the frosting...well enough to make you
wish you had a GIANT CUPCAKE mold of your own! And here is your chance... Like
I said, I have two, and I certainly don't need two! So I would love to give ONE
away, you know, spread a bit of cupcake love!!!!
SO! I hope I have un-daunated this
cake and Carla has done the same for the frosting...well enough to make you
wish you had a GIANT CUPCAKE mold of your own! And here is your chance... Like
I said, I have two, and I certainly don't need two! So I would love to give ONE
away, you know, spread a bit of cupcake love!!!!

This mold is pretty snazzy in that it has that top section that you can use when you are baking the "bottom" half of the cupcake, it has a dented section in the middle which will leave room for a filling once it is baked, and its an optional feature which you can use if you like!
This give away is for ONE (red) giant silicone cupcake mold (3 piece)To get started log into the raffel copter widget using your email or facebook account, there will be further instructions after that in the widget.You can have a total of 6 (2 are mandatory) entries to win by:
Entries close on the 19 June 2012 and winner will be announced on 20 June 2012Winner will need to contact me via email within 48 hours after being announced or another name will be drawnThis give away is international - so anyone my enter.Thank you for entering and Good luck!
a Rafflecopter giveaway
Neither Carla, nor I are being compensated in any way for this giveaway.